
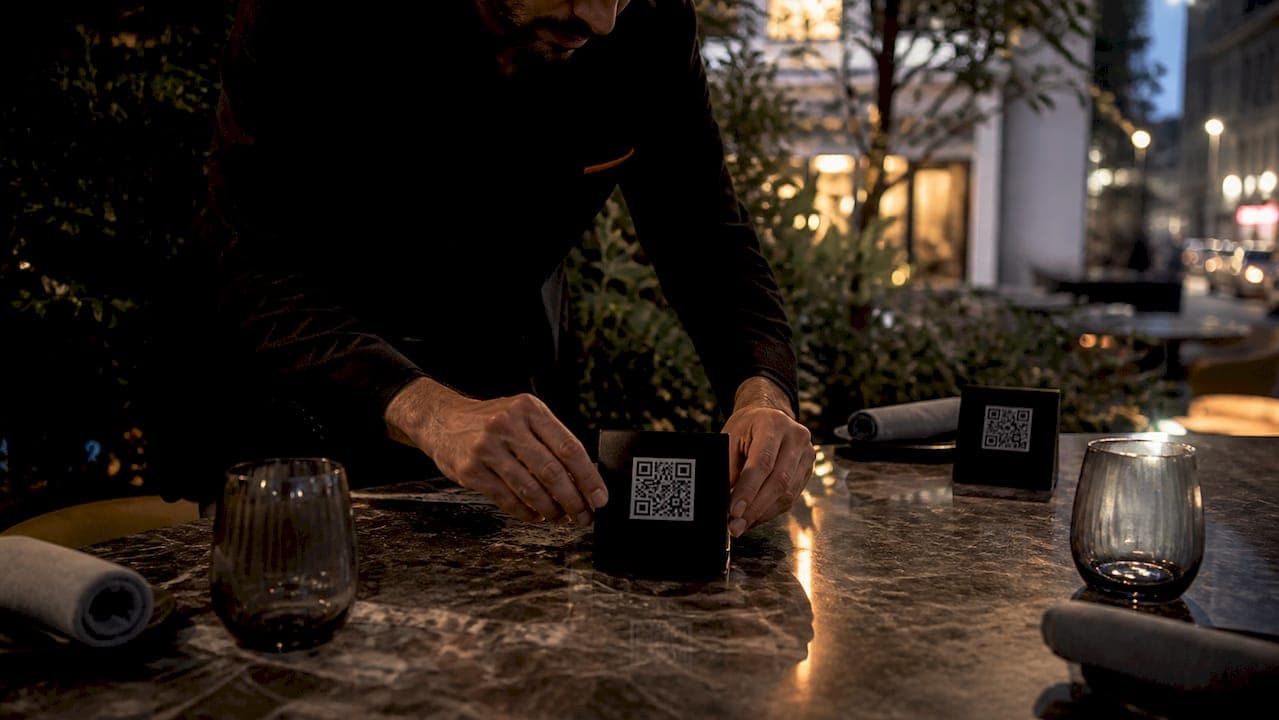
A scan to order system lets your guests scan a QR code at the table, browse a photo menu on their phone, place their order, and pay, all without waiting for a server. If you run a dine-in restaurant, café, or multi-outlet food and beverage operation, the answer is yes, this fits your operation. The recommended next step: run a short pilot on a section of tables before committing to a full rollout.
At a glance:
- The core flow is scan → browse menu → place order → kitchen receives ticket → guest pays
- Best fit: table-service restaurants, cafés, fast-casual with dine-in, and multi-outlet groups
- Main tradeoff: guests who are not comfortable with smartphones need a fallback (printed menu, server assist)
- Low-friction entry point: start a free trial with Qrordering and pilot on 4–6 tables
Key Takeaways
A scan to order system pays off fastest when it reallocates server time rather than simply cutting headcount.
| Point | Details |
|---|---|
| Core flow | Guest scans QR → browses menu → orders → kitchen receives ticket → pays on phone. |
| Reported ROI | Qrordering clients report a 25% table turnover increase and two fewer staff roles (publisher-reported). |
| Main tradeoff | Guests without smartphones need a printed menu fallback; weak Wi-Fi stalls orders. |
| Setup timeline | Most single-location restaurants go live in one to three weeks with a phased table pilot. |
| Recommended start | Run a free trial with Qrordering on 4–6 tables before a full-floor rollout. |
Table of Contents
- How does scan to order actually work, step by step?
- What are the real benefits, and what are the tradeoffs?
- What does setup actually require?
- What does a scan-to-order system cost?
- What integrations should you verify before buying?
- PCI, data privacy, and guest safety for US operators
- How long does a typical rollout take?
- What results do Qrordering clients actually report?
- The part most operators get wrong about scan to order
- Qrordering gives you the no-app ordering setup this guide describes
- Sources
How does scan to order actually work, step by step?
A guest scans a QR code printed on the table, a tent card, or a coaster. Their phone opens a browser-based ordering page, no app download required. They browse the menu, add items, and submit the order. That order routes instantly to your kitchen display or receipt printer. Payment happens on the same device before or after the meal.
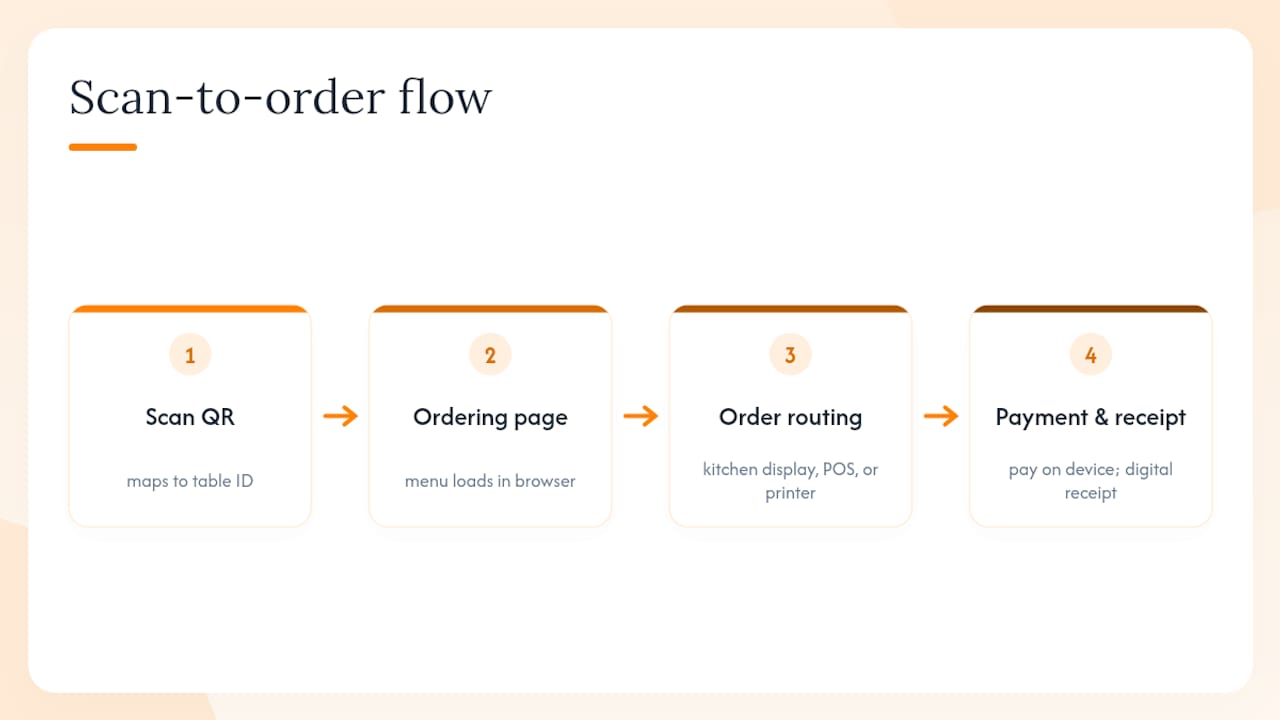
Step 1: QR code maps to a table ID. Each table gets a unique QR code tied to a table number in your system. When the guest scans, the ordering page knows which table placed the order, so kitchen staff and servers never have to guess.
Step 2: Guest browses and orders. The menu page loads in the phone's browser. Photo-rich menus with descriptions and modifiers let guests customize without asking a server. Orders are submitted directly from the phone.
Step 3: Order routes to the kitchen or POS. The submitted order appears on a kitchen display or prints a ticket at the kitchen printer. Some systems push the order into a connected POS; others route it independently via webhook or API. Scan Order Pay documentation describes how QR-initiated ordering pages link to a merchant's systems and route orders downstream.
Step 4: Payment and receipt. The guest pays by card, Apple Pay, or Google Pay on the same ordering page. A digital receipt is sent automatically; thermal receipt printing is optional.
Visualize it as four nodes: guest phone → QR URL → ordering page → POS/kitchen/printer.
Pro Tip: Give each QR code a short, human-readable label on the back (e.g., "Table 7 — Bar Side") during setup. When you troubleshoot a misfired order, that label saves you from cross-referencing a spreadsheet.
What are the real benefits, and what are the tradeoffs?
The headline benefits are faster table turns, lower labor dependency, and fewer order errors. The National Restaurant Association's Tech Landscape Report identifies digital and contactless ordering as a top operational priority for restaurants in 2024, reflecting how broadly operators are moving in this direction.
KPIs to track from day one:
- Table turnover rate (covers per shift)
- Average check size (guests often add items when browsing at their own pace)
- Order accuracy rate (compare pre- and post-deployment error tickets)
- Staff hours per cover
Qrordering reports client outcomes including a 25% increase in table turnover and a reduction of two staff roles for some deployments (publisher-reported internal metrics).
Industry write-ups consistently note that operators capture the most value when the system reduces server tasks rather than eliminates service entirely. A server freed from taking orders can focus on hospitality, upselling, and problem-solving.
Tradeoffs to plan for:
- Guests without smartphones or low digital comfort need a printed menu fallback
- Weak Wi-Fi or dead cellular spots will stall orders mid-flow
- Tip attribution changes when payment moves to the phone; brief your team before launch
- Accessibility: older guests or those with visual impairments may need assistance
Pro Tip: During your pilot phase, track error tickets and table turn times daily for the first two weeks. You will spot friction points — a confusing modifier screen, a slow-loading image — before they become habits.
What does setup actually require?
Minimum requirements: a digital menu, unique QR codes per table, a reliable internet connection, and a route for orders to reach your kitchen or POS.
Setup checklist:
- Upload your full menu with photos, descriptions, and modifiers
- Assign a unique QR code to each table (or section, for a phased rollout)
- Confirm Wi-Fi coverage across the dining floor; identify dead zones before launch
- Set up kitchen routing: display screen, thermal printer, or POS push
- Map table IDs in the system to match your physical floor plan
- Configure payment methods: card, Apple Pay, Google Pay
- Set up digital receipts and optional thermal receipt printing
- Test every table QR before opening day
Hardware you may need:
- Thermal receipt printer (kitchen and/or front-of-house)
- Optional tablet at the host stand for floor plan monitoring
- QR code tent cards, table stickers, or coaster inserts (most vendors supply templates)
For signage, place the QR code at eye level when seated, with a short line of copy such as "Scan to view menu and order." Keep the call to action short. Add a secondary line for accessibility: "Need help? Ask your server."
What does a scan-to-order system cost?
Most scan to order systems follow one of three pricing shapes: a flat monthly SaaS subscription, a per-order fee, or a hybrid of both. For most single-location operators, a monthly subscription is the most predictable model.
Budget line items to plan for:
- Monthly software subscription (varies by vendor and outlet count)
- Payment processing fees (typically a percentage per transaction, set by your processor)
- Hardware: thermal printers, mounting hardware, tent cards
- One-time setup or onboarding fee (some vendors waive this)
- Integration fees if connecting to an existing POS
For a single-location restaurant, illustrative monthly software costs typically run in the range of a few dozen to a few hundred dollars depending on feature tier and table count. Multi-outlet groups should ask vendors for volume pricing.
Pro Tip: Before signing, ask the vendor three questions: Is there a minimum contract term? What happens to your menu data if you cancel? Are payment processing fees bundled or billed separately? A vendor confident in their product will answer all three without hesitation.
What integrations should you verify before buying?
The four integration checks that matter most: POS connector, kitchen print routing, payment processor compatibility, and table mapping.
Three integration classes to evaluate:
- Native POS integrations push orders directly into your existing POS (Square, Toast, Clover, and others). This is the cleanest path; orders appear in your POS like any other ticket.
- Middleware or webhook-based integrations connect via API and route orders to your systems without a native connector. More flexible, but requires a brief technical setup.
- Print-routing options send orders directly to a kitchen printer without touching the POS. Useful for operators who want a fast deployment without POS reconfiguration.
Questions to ask every vendor:
- Do you have a native connector for my POS, or is it webhook-based?
- Who owns the order and guest data?
- What is the order latency from submission to kitchen ticket?
- How does the system handle offline or connectivity loss?
- How are tips attributed and reported?
On payments: most modern scan to order systems accept Visa, Mastercard, Apple Pay, and Google Pay via a connected payment processor. PCI DSS responsibility is shared between you and your payment processor. Your vendor should confirm they use tokenized card data and TLS-encrypted ordering pages, which keeps your PCI scope narrow. Ask your processor directly which SAQ (Self-Assessment Questionnaire) tier applies to your setup.
Google Business Profile guidance is also worth reviewing if you plan to surface your ordering URL in Google Search or Maps, since it affects how those links are handled in Google properties.
PCI, data privacy, and guest safety for US operators
Your top compliance responsibilities: PCI DSS for payment handling, and CCPA-aligned data practices if you collect identifiable guest data from California residents.
Security checkpoints to verify with your vendor:
- Tokenized payment processing (card data never touches your server)
- TLS encryption on all ordering pages
- Clear data retention policy: how long is guest order data stored?
- Vendor SLA for breach notification
- Cookie consent handling for in-browser ordering pages
Consent-management platforms such as OneTrust are commonly used to manage cookie consent and in-browser privacy preferences on consumer-facing ordering pages. If your ordering page uses cookies or collects identifiable data, a consent banner is a practical requirement, not optional.
For US operators, PCI DSS v4.0 is the current standard. Your payment processor will tell you which SAQ applies. If you use a fully hosted payment page from your processor, your scope is significantly reduced.
How long does a typical rollout take?
From vendor selection to live operation, most single-location restaurants complete a scan to order rollout in one to three weeks. Multi-outlet groups with complex POS integrations should budget four to six weeks.
- Vendor selection (Days 1–3): Compare two or three vendors, confirm POS compatibility, and start a free trial.
- Menu configuration (Days 3–7): Upload menu items, photos, modifiers, and pricing. Map table IDs to QR codes.
- Integration and print setup (Days 5–10): Connect to POS or configure print routing. Test kitchen ticket flow end to end.
- Staff training and soft launch (Days 10–14): Brief servers on the guest flow, tip handling, and fallback procedures. Run a soft launch on a section of tables.
- Full launch (Day 14+): Open to all tables. Monitor KPIs daily for the first 30 days.
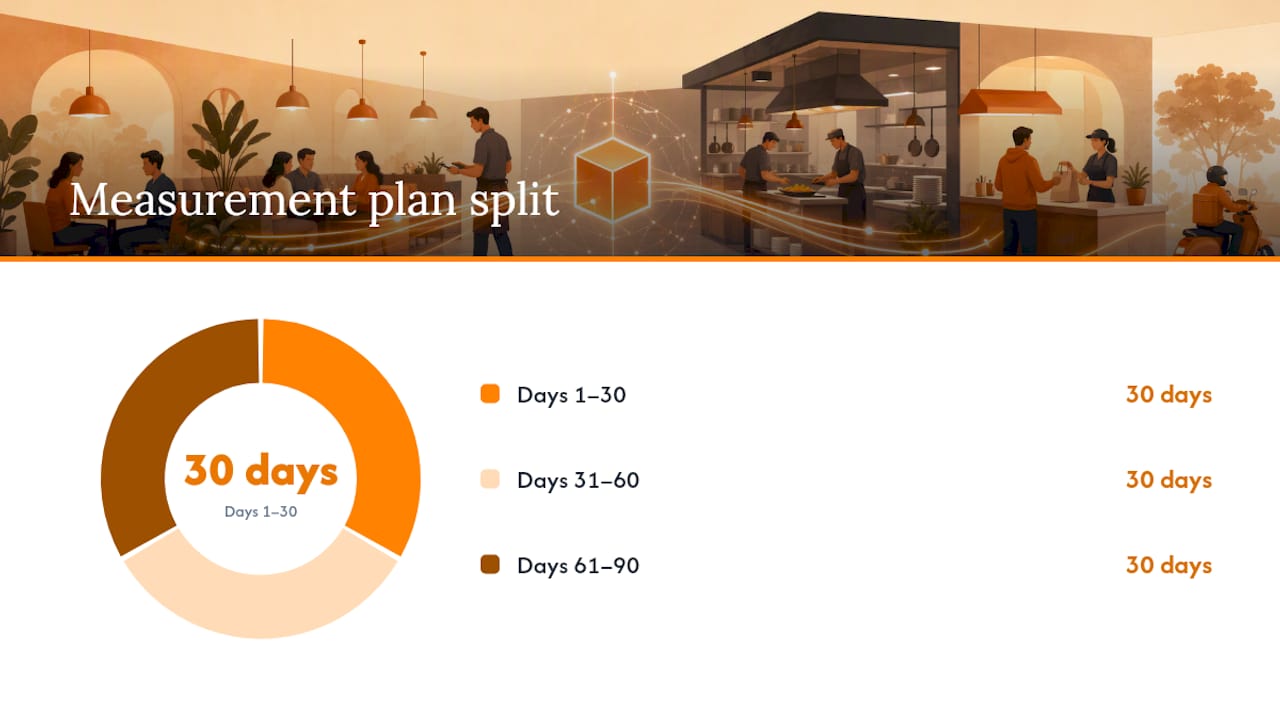
First 30/60/90-day measurement plan:
- Days 1–30: Track table turn time, order errors, and guest complaints daily
- Days 31–60: Compare average check size pre- and post-deployment
- Days 61–90: Evaluate staff hours per cover and adjust floor staffing if warranted
Brief your servers with a short script: "You can scan the code on the table to order and pay whenever you're ready.
What results do Qrordering clients actually report?
Qrordering reports the following outcomes from client deployments (publisher-reported internal metrics):
| Metric | Reported outcome |
|---|---|
| Table turnover increase | 25% uplift |
| Staff roles reduced | a reduction in roles per location |
| Order errors | Significant decrease reported |
| Deployment type | Dine-in restaurants and cafés |
These figures come from Qrordering's own reporting and reflect outcomes for clients who deployed the full system including kitchen printing and table mapping. Results vary by restaurant type, volume, and how completely the system replaces manual order-taking.
The strongest gains appear in table-service restaurants with moderate to high covers per shift, where server time spent on order-taking is a meaningful share of labor cost. Cafés with high turnover and limited table service also report strong results.
The part most operators get wrong about scan to order
Most of the hesitation around QR ordering comes from a misread of what the technology actually does. Operators who tried early, clunky implementations in 2020 and 2021 often concluded that guests hate it. Some did. But the friction was almost never the QR code itself. It was slow-loading menus, missing photos, and systems that couldn't handle modifiers without calling a server anyway.
The operators who see the biggest gains treat scan to order as a labor reallocation tool, not a cost-cutting shortcut. The server doesn't disappear. They just stop being a human notepad and start being the reason a guest comes back.
The second mistake is over-engineering the launch. A four-table pilot on a Tuesday lunch service will tell you more than three weeks of internal planning. Set it up, watch what happens, and fix what breaks. The system is configurable; your instincts about your guests are not always right until you test them.
Qrordering gives you the no-app ordering setup this guide describes
No-app table ordering, kitchen ticket routing, real-time floor plan management, and built-in analytics: Qrordering covers every item on the checklist above without requiring expensive POS hardware or a lengthy integration project.
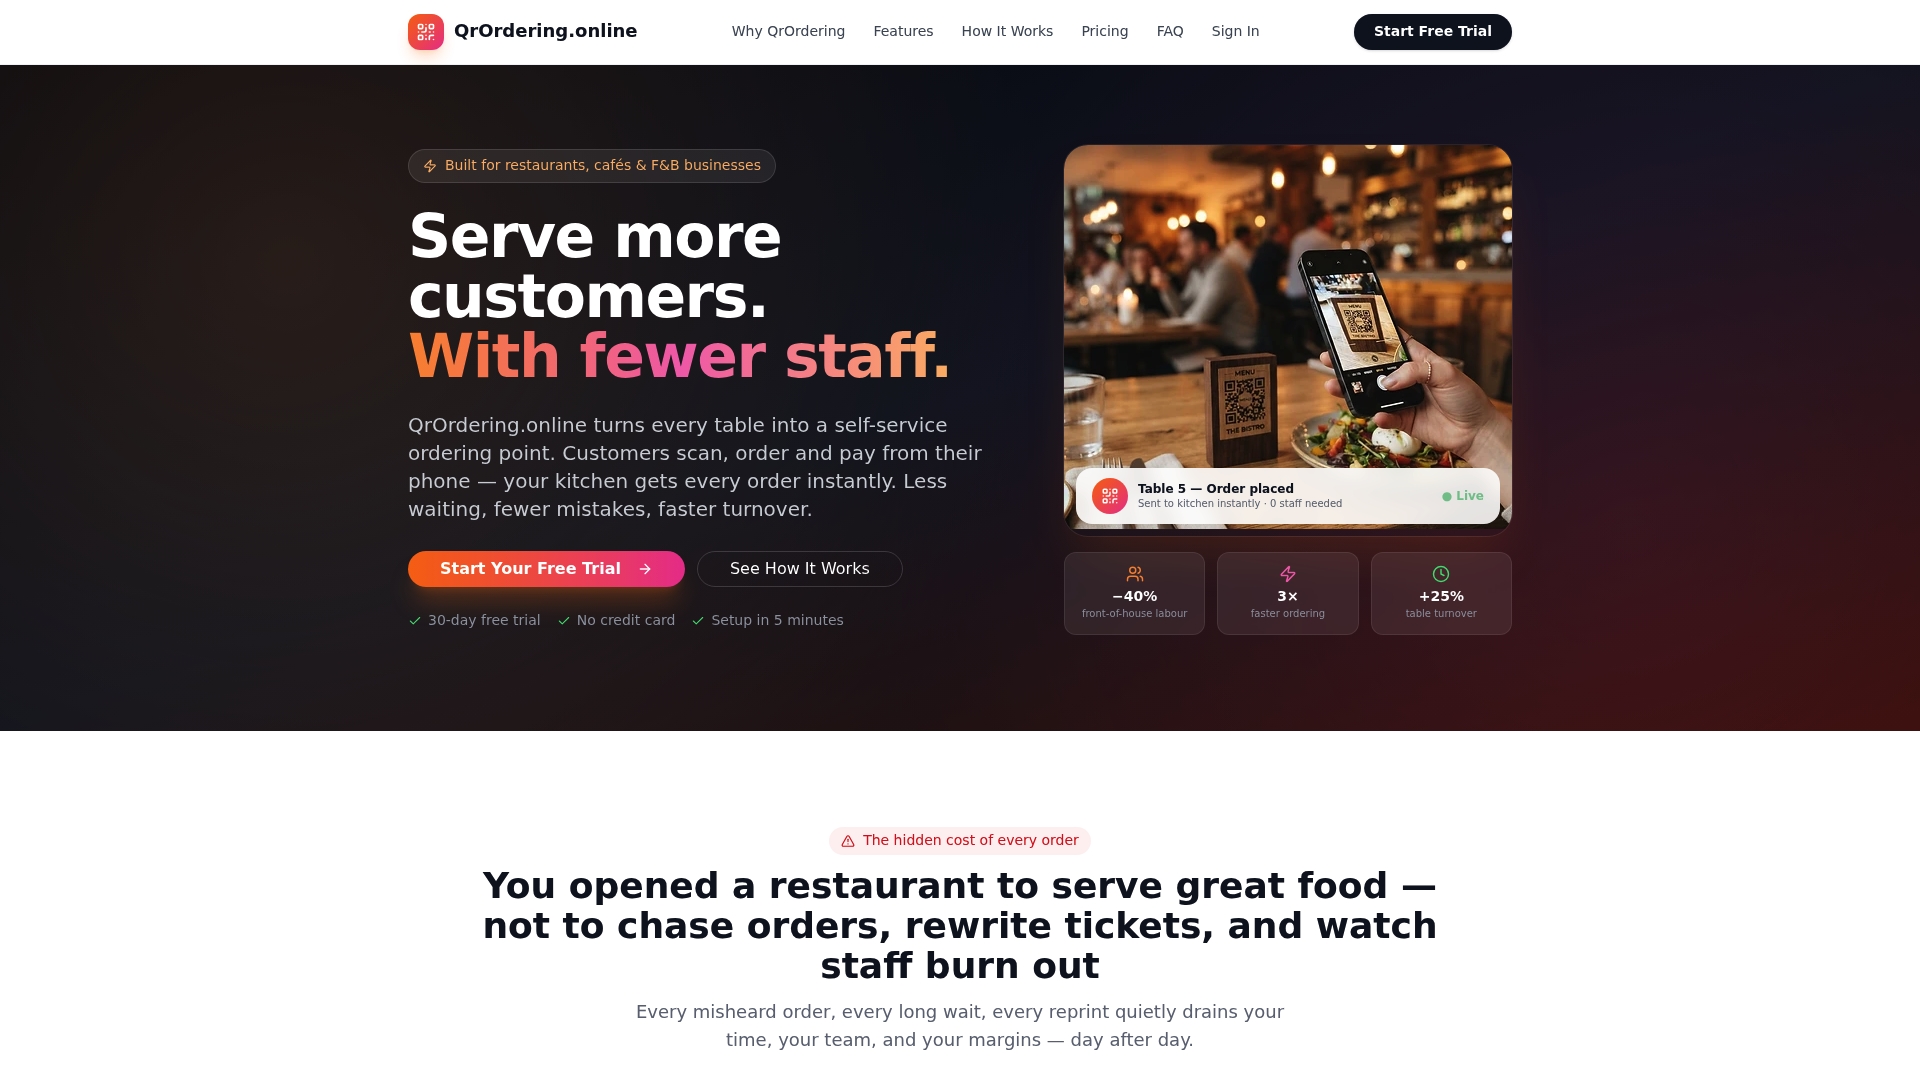
The free trial lets you upload your menu, generate table QR codes, and run a live pilot before committing to a paid plan. Multi-outlet operators get centralized menu management and per-location analytics from a single dashboard. Branded receipts, digital and thermal, are included. After the trial, Qrordering moves to a monthly subscription with no long-term contract required. Start your free trial at Qrordering and have your first tables live within a week.
Sources
Short list of authoritative resources for operators evaluating or deploying a scan to order system:
- National Restaurant Association: Tech Landscape Report 2024
- OneTrust: Consent and preferences
- Google Business Profile: Add ordering links